注册
首先在DaoVoice注册个账号,点击->邀请码是b3c7d22e。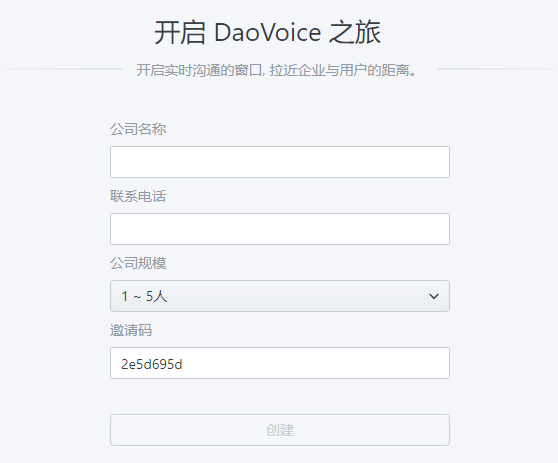
完成后,会得到一个app_id,后面会用到: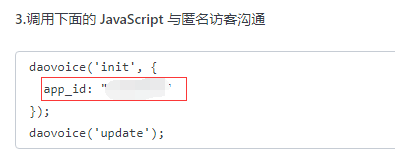
修改head.swig
修改/themes/next/layout/_partials/head.swig文件,添加内容如下:
1 | {% if theme.daovoice %} |
位置贴图: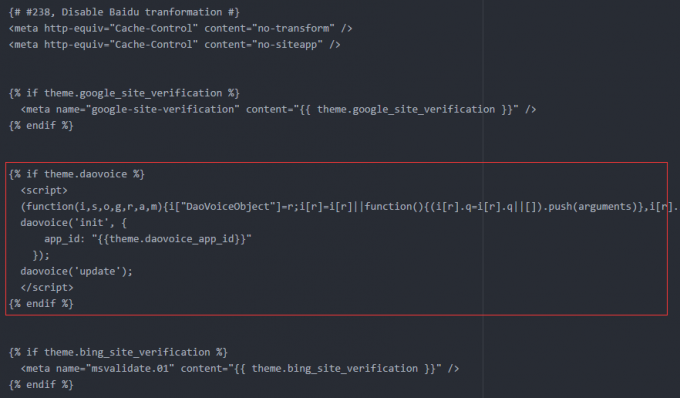
主题配置文件
在_config.yml文件中添加内容:
1 | # Online contact |
聊天窗口配置
附上我的聊天窗口的颜色、位置等设置信息: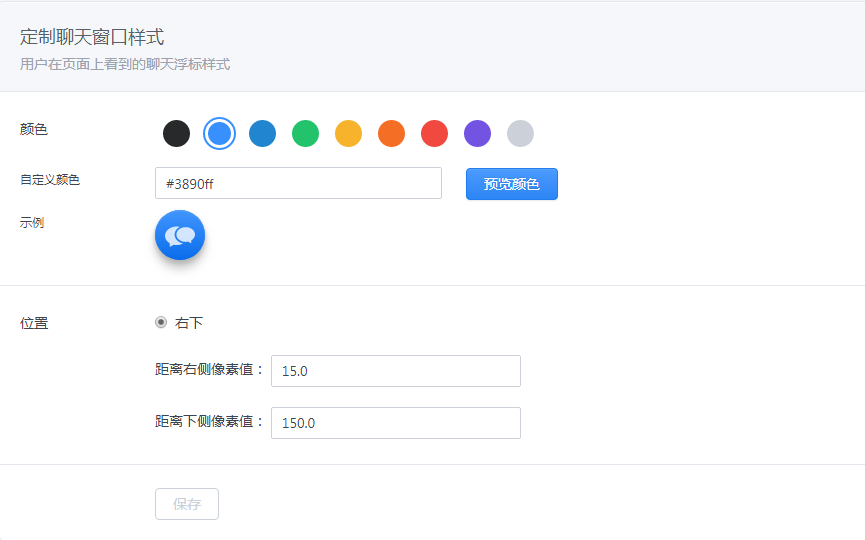
至此,网页的在线联系功能已经完成,重新hexo d -g上传GitHub后,页面上就能看到效果了。
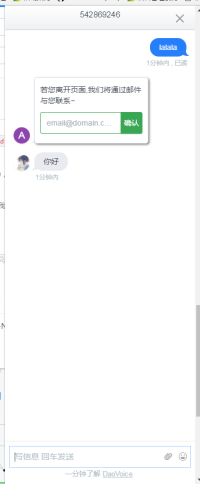
效果图:
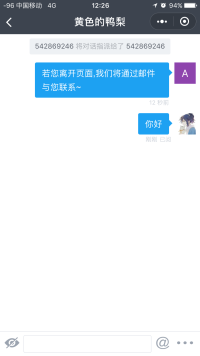
可以关注小程序接收回复消息,很方便

现在往右下角看看(~ ̄▽ ̄)~ ,欢迎撩我(滑稽)。